If you want to rapidly increase the watch time, views, and subscribers on YouTube channel, go live from your computer desktop. You don’t need 1,000 subscribers, and you don’t have to install any software.
Here are the steps to live stream from your desktop computer without 1,000 subscribers….

Log into YouTube channel, click the camera icon that says create a video post.

Click go live.

Now you’ve got stream beta, manage and webcam. Select webcam

Enter your title.
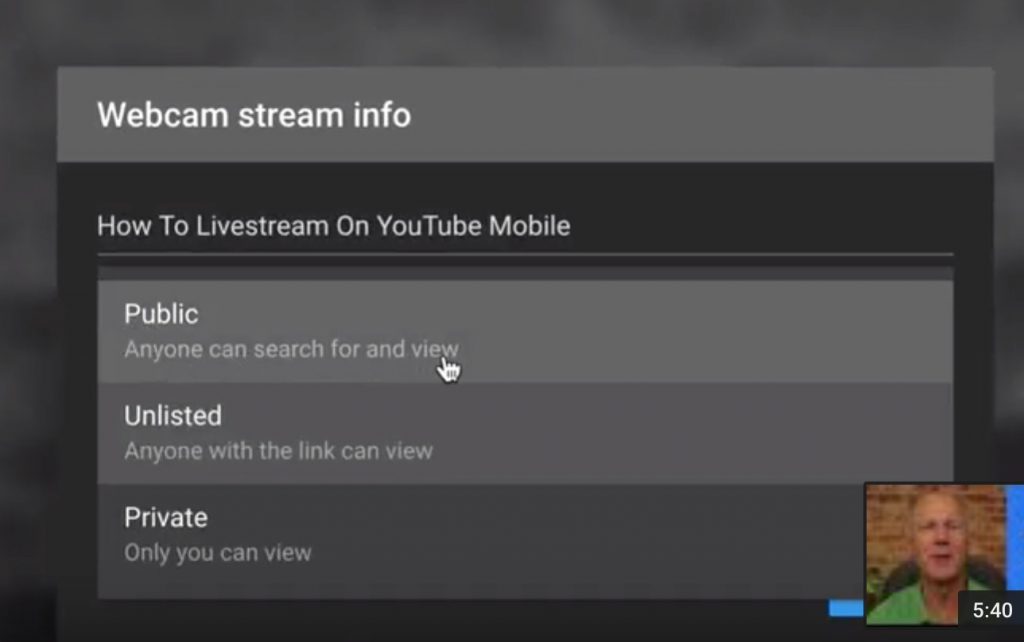
Select your privacy settings. Public means anyone can search for and view; unlisted, means anyone with the link can view; private means only you can view. I’m going to select unlisted for this demonstration.

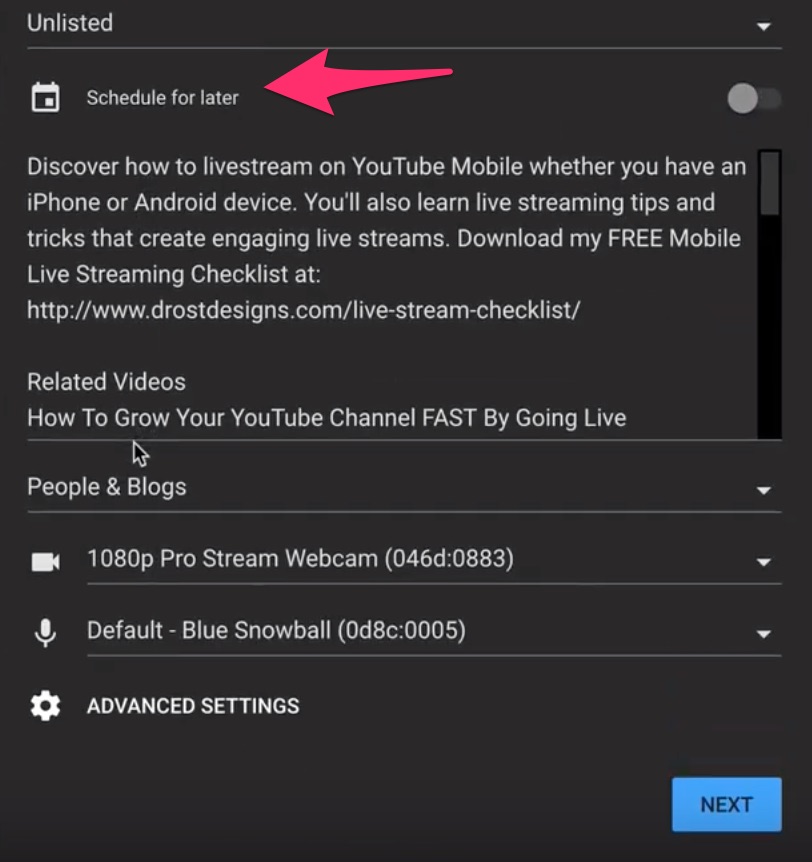
You can also schedule the live stream for later. Just move the slider to the right,

Select the date and you can select the time. I’m going to go live now, so I’m going to move the slider to the left to turn it off.

Click more options.
I can schedule for later, which I just showed you.

Here you can add your description, which I’ve added already.

Select your category. I’m going to select “how to”

Select your webcam. Instead of my FaceTime camera which doesn’t work, I’m selecting pro-stream webcam which is a Logitech webcam.

Select your mic. If you click the drop-down, you can select internal microphone, Blue Snowball and Pro-stream webcam. I’m using my Blue Snowball, which uses a USB connection so I’m going to select that.


If I click advanced settings, I can allow chat, I can enable age restriction, I can select “The video contains paid promotion such as paid product placement sponsorships or endorsement“. I’m not doing any of that, so I’m going to leave that off.

Tap the arrow to go back.

Click next.

Smile to take a thumbnail. It looks pretty good. Keep in mind you can always change the thumbnail later for a custom thumbnail. Click here if you want to learn how to create a clickable thumbnail using free online graphics software.

If I click the pencil icon, I can edit my live stream data to check if all the data is correct.

I’ve got my title, I’ve got my privacy settings, I’ve got the date and time, I’ve got my description, I’ve got my category how-to style, I’ve selected my Logitech webcam, I’ve selected my Blue Snowball mic, and I’ve already fixed the advanced settings. Then just click save to save the settings.

Now I’m ready to go live so just click “Go Live”

As you notice at the top left, I’ve got how long the live stream is going, and how many people are on the live stream (it’s just myself in this demo).

Down here on the right of the window, I’ve got my live chat stream. I can say anything I like, let’s say, “How are you?”

Then I just tap this button.

The chat appears at the top where it says live chat.

I click the three dots, I’ve got participants, pop-out chat and toggle time-stamp. If I click participants, I’ve just got myself. If I do the pop-out chat, I’ve got a pop-out chat that appears on the left. I can move that anywhere around on my desktop. Since live chat is on the right, then I’m just going to leave it like that, I don’t need a pop-out.

Down the bottom here, you can check your mic is working correctly. You can turn it off or on.

If I click the curved arrow next to the mic icon you’ll see the URL of my live stream that can be submitted to social media sites.. I can also embed the live stream or I can copy the URL and share it elsewhere.

After I’ve finished the live stream, I can just click end live stream.

You’ll see the message.. Are you sure you want to end your live stream? Click end.

Now it shows the playbacks, peak concurrence, new subscribers, duration of live stream, total watch time and average watch time. I can edit in the studio. Just click “edit in studio”

I can edit the title, description, tags, etc. I didn’t add any tags, so I could add some related keywords here.

Add the video replay to a playlist. I could also add cards and an end screen.

I can also add a custom thumbnail. I just click the three dots, and I can change the thumbnail to a new design.

Click advanced to change recording date, category, language, allow comments, not allow comments. location, etc.

Make sure you choose the right category, language and allow comments.

If you’re happy with the recorded live stream, switch visibility from unlisted to public and click done.

Selecting public means anyone can view your video.

If I go back to my finished stream window, I can skip edit in studio and click done.

If I check my videos list, I’ll see my live stream at the top of the list.
Now you know how to go live from your desktop computer without 1,000 subscribers or using any software.
Let me ask you a question…
What’s your biggest fear of going live on YouTube?
Post your answer in the comments below, I’d love to read them and I’m sure others would too. “
How do you go live from a mobile phone?
I’m glad you asked. Just watch my next video on how to go live from YouTube Mobile whether using an iPhone or Android device.
Speak Your Mind